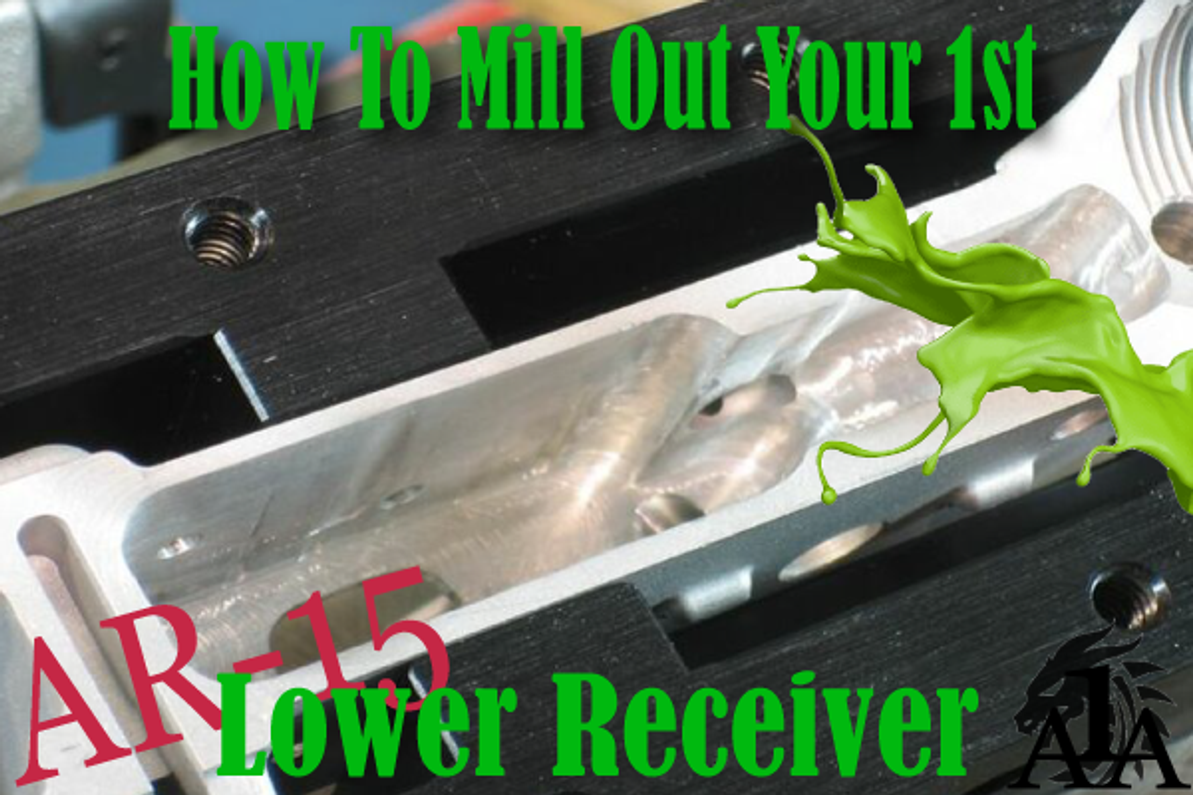
How to Mill Out An AR-15 80% Lower Receiver
How to Mill Out An AR-15 80% Lower Receiver
How to Mill Out an AR-15 80% Lower Receiver: A Detailed Guide
The AR-15 is one of the most popular firearms in the United States due to its versatility, modularity, and the ease with which enthusiasts can customize it. One of the key components of this firearm is the lower receiver. For those interested in building their own AR-15 from scratch, milling out an 80% lower receiver is a crucial step. This guide will provide a comprehensive, step-by-step process on how to successfully mill out an AR-15 80% lower receiver, covering necessary tools, safety precautions, and detailed instructions.
What is an 80% Lower Receiver?
An 80% lower receiver is a partially completed lower receiver of an AR-15 rifle. It is not classified as a firearm by the Bureau of Alcohol, Tobacco, Firearms, and Explosives (ATF) because it requires additional machining before it can function as part of a firearm. Completing an 80% lower receiver allows enthusiasts to create a custom firearm while bypassing the need for a serial number and other regulatory requirements associated with purchasing a completed lower receiver.
Legal Considerations
Before starting this project, it is essential to understand the legal implications. While federal law allows individuals to complete an 80% lower receiver for personal use, state and local laws may vary. Ensure you are in compliance with all applicable laws in your area. This guide is not legal advice, and it is the responsibility of the builder to stay informed about current laws.
Tools and Materials Needed
To mill out an AR-15 80% lower receiver, you will need the following tools and materials:
Tools
- Drill Press or Milling Machine: A drill press with a cross-slide vise or a milling machine is required for precision.
- 80% Lower Jig Kit: This kit usually includes templates and tools to guide the milling process.
- Drill Bits: Various sizes, typically 3/8”, 5/32”, and 1/8”.
- End Mills: Generally 3/8” and 5/16” end mills are used.
- Dremel Tool or Rotary Tool: Useful for finishing touches and hard-to-reach areas.
- Files and Sandpaper: For deburring and smoothing edges.
- C-Clamps or Vise: To secure the lower receiver during milling.
- Eye and Ear Protection: Safety goggles and ear protection are a must.
Materials
- 80% Lower Receiver: The partially completed lower receiver.
- Cutting Fluid: To lubricate and cool the cutting tools.
- Safety Gear: Gloves, goggles, and ear protection.
Preparing for Milling
Setting Up the Work Area
- Safety First: Ensure your work area is well-ventilated and free of any flammable materials. Wear appropriate safety gear, including eye and ear protection.
- Secure the Lower Receiver: Use a vise or C-clamps to securely hold the lower receiver in place. The receiver should not move during the milling process.
Assembling the Jig
- Attach the Templates: Secure the jig's side plates to the 80% lower receiver. These templates guide the drill and end mill to ensure precision.
- Align Correctly: Double-check the alignment of the jig to ensure it is correctly positioned. Misalignment can result in an unusable lower receiver.
Drilling the Initial Holes
Marking the Locations
- Use the Jig: The jig will have pre-marked locations for drilling. Ensure these are correctly positioned over the lower receiver.
- Center Punch: Use a center punch to mark the drilling spots. This prevents the drill bit from wandering.
Drilling
- Pilot Holes: Start by drilling pilot holes with a smaller bit (e.g., 1/8”) at the marked locations.
- Progressive Drilling: Gradually increase the size of the drill bits to reach the final size. Common sizes include 3/8” for the trigger pocket and 5/32” for the pin holes.
- Cutting Fluid: Apply cutting fluid to the drill bit to reduce heat and friction, extending the life of the bit and improving cut quality.
Milling the Trigger Pocket
Setting Up the End Mill
- Install the End Mill: Secure the appropriate end mill (usually 3/8”) in your milling machine or drill press.
- Adjust Depth: Set the depth stop on your milling machine or drill press to ensure consistent milling depth.
Milling Process
- Initial Passes: Begin milling the trigger pocket in shallow passes (around 1/16” per pass). This reduces the load on the tool and helps maintain accuracy.
- Clear Chips: Regularly clear out metal chips from the milling area to prevent buildup and ensure smooth cutting.
- Check Depth: Use a depth gauge to periodically check the depth of the pocket, ensuring it matches the required specifications.
Final Touches
- Finish Milling: Once you reach the desired depth, make a few final passes to smooth out the trigger pocket.
- Remove Burrs: Use a file or deburring tool to remove any sharp edges or burrs inside the pocket.
Drilling the Pin Holes
Preparation
- Reattach the Jig: If necessary, reattach the jig to ensure proper alignment for the pin holes.
- Center Punch: Mark the pin hole locations with a center punch.
Drilling
- Progressive Drilling: Start with a smaller drill bit and work up to the final size (usually 5/32”).
- Lubrication: Apply cutting fluid to the drill bit to facilitate a clean cut.
Finishing
- Deburring: Deburr the edges of the pin holes using a file or deburring tool.
- Test Fit: Test fit the pins to ensure they fit snugly without excessive play.
Finishing Touches
Smoothing and Deburring
- Files and Sandpaper: Use files and sandpaper to smooth all edges and remove any remaining burrs.
- Dremel Tool: A Dremel tool can be useful for hard-to-reach areas or for finer finishing touches.
Cleaning
- Remove Residue: Clean the lower receiver thoroughly to remove any metal shavings or cutting fluid residue.
- Inspect: Inspect the receiver for any missed burrs or imperfections.
Final Assembly
- Fit Components: Assemble the lower receiver with the fire control group, trigger, and other components to ensure everything fits correctly.
- Function Check: Perform a function check to verify that the trigger and safety mechanisms operate correctly.
Tips and Best Practices
- Take Your Time: Milling an 80% lower receiver requires patience and precision. Rushing can result in mistakes that may render the receiver unusable.
- Regular Maintenance: Keep your tools in good condition. Sharp bits and end mills produce cleaner cuts and reduce the risk of errors.
- Practice: If you're new to milling, consider practicing on a piece of scrap aluminum before working on your 80% lower receiver.
- Stay Informed: Keep up-to-date with current laws and regulations regarding the manufacture of firearms for personal use.
Troubleshooting Common Issues
- Misalignment: If the jig or receiver shifts during milling, it can cause misalignment. Double-check the setup before starting and periodically during the process.
- Tool Breakage: If a drill bit or end mill breaks, it may be due to excessive force or inadequate lubrication. Use cutting fluid and take shallow passes.
- Inconsistent Depth: An inconsistent milling depth can result from improper setup or movement during milling. Ensure the receiver is securely clamped and the depth stop is correctly set.
Conclusion
Milling out an AR-15 80% lower receiver is a rewarding process that allows firearm enthusiasts to create a custom, unregistered lower receiver for personal use. By following this detailed guide, you can achieve a high level of precision and safety throughout the process. Remember to adhere to all legal requirements, prioritize safety, and take your time to ensure a successful build.
Building your own AR-15 from an 80% lower receiver is not only a testament to your craftsmanship but also a deeply satisfying project that connects you more intimately with your firearm. With the right tools, careful planning, and attention to detail, you can create a reliable and personalized lower receiver that forms the backbone of your AR-15.
Resources and Further Reading
Building an AR-15 from an 80% lower receiver requires not only the right tools and techniques but also a solid understanding of the firearm and machining principles. Here are some valuable resources to further your knowledge and skills:
Books and Manuals
- "The AR-15 Complete Assembly Guide" by Walt Kuleck and Clint McKee: A comprehensive guide to assembling an AR-15, with detailed instructions and illustrations.
- "The AR-15 Rifle Builder's Manual: An Illustrated, Step-by-Step Guide to Assembling the AR-15 Rifle" by Rob Reaser: Offers step-by-step instructions with clear photos for each stage of the assembly.
- "Machining Fundamentals" by John R. Walker: Provides a solid foundation in machining principles, techniques, and safety.
Online Forums and Communities
- AR15.com: One of the largest online communities for AR-15 enthusiasts. The forums offer discussions on building, troubleshooting, and customizing AR-15s.
- The Firing Line Forums: A general firearms forum with sections dedicated to gunsmithing and home builds.
- Calguns.net: A California-based firearms forum with a wealth of information on building AR-15s and complying with local laws.
YouTube Channels
- Brownells, Inc.: Offers detailed instructional videos on assembling and customizing AR-15s.
- MidwayUSA: Features a series of videos on building AR-15s, from lower receiver assembly to full rifle builds.
- The Gun Collective: Provides reviews, guides, and updates on the latest in the firearms industry.
Manufacturers and Suppliers
- Brownells: A trusted supplier of firearm parts, tools, and accessories. They offer jigs, lower receivers, and all necessary components for building an AR-15.
- MidwayUSA: Another reputable supplier with a wide selection of parts and tools.
- 80 Percent Arms: Specializes in 80% lower receivers, jigs, and other tools for home builders.
Safety and Legal Considerations
Safety Guidelines
When working with firearms and machining tools, safety cannot be overstated. Always follow these guidelines:
- Personal Protective Equipment (PPE): Always wear safety glasses, hearing protection, and gloves when machining or handling firearms.
- Proper Ventilation: Ensure your workspace is well-ventilated, especially when using solvents or lubricants.
- Tool Maintenance: Keep all tools sharp and in good working condition to prevent accidents.
- Firearm Safety: Treat every firearm as if it is loaded. Follow the four fundamental rules of firearm safety: Keep the muzzle pointed in a safe direction, keep your finger off the trigger until ready to shoot, keep the firearm unloaded until ready to use, and be aware of your target and what lies beyond it.
Legal Compliance
Building an AR-15 from an 80% lower receiver comes with legal responsibilities. Stay informed and compliant with federal, state, and local laws:
Recent Posts
-
AR-15 Parts and Their Functions: A Comprehensive Guide
The AR-15 platform is one of the most popular rifles in the United States due to its modularity and …Sep 10th 2024 -
The AR Platform Benefits Of Timber Creek Outdoors
Introduction:In the realm of firearms and shooting sports, precision, durability, and innovation sta …May 23rd 2024 -
AR-15 Side Charging VS Rear Charging Rifles
The AR-15 has undeniably earned its place as the most popular sporting rifle in America, largely t …May 22nd 2024


